How to create User Account on your portal:
Open the admin panel URL and enter username and password to login.
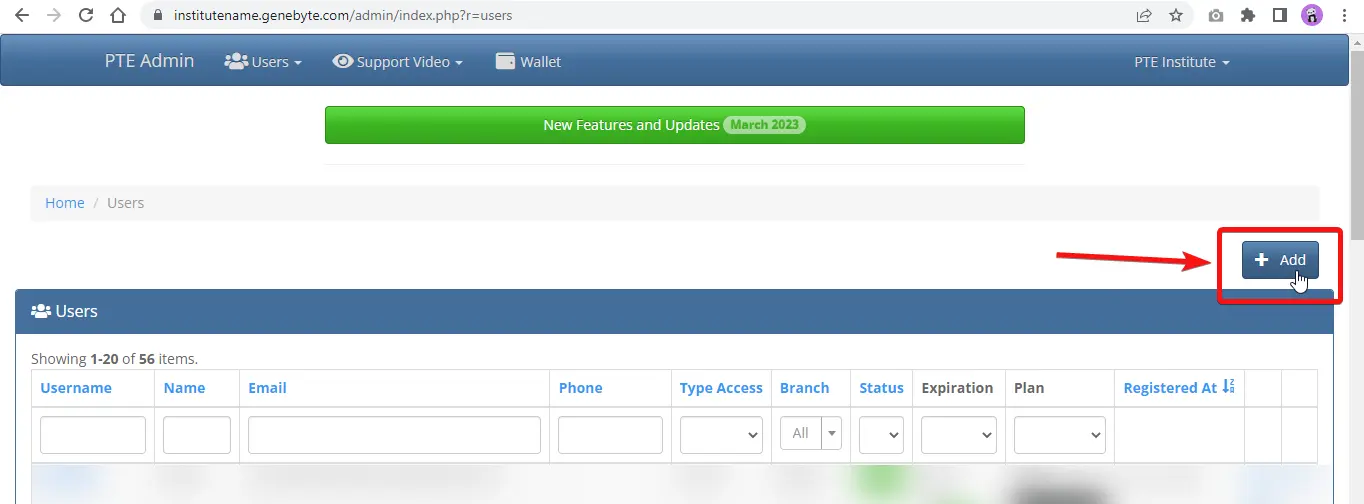
Then, go to the Users page by cpcking on the highpghted button.
Cpck the highpghted Add button located on right side.
On the add new user page, enter the username you want to keep for the account.
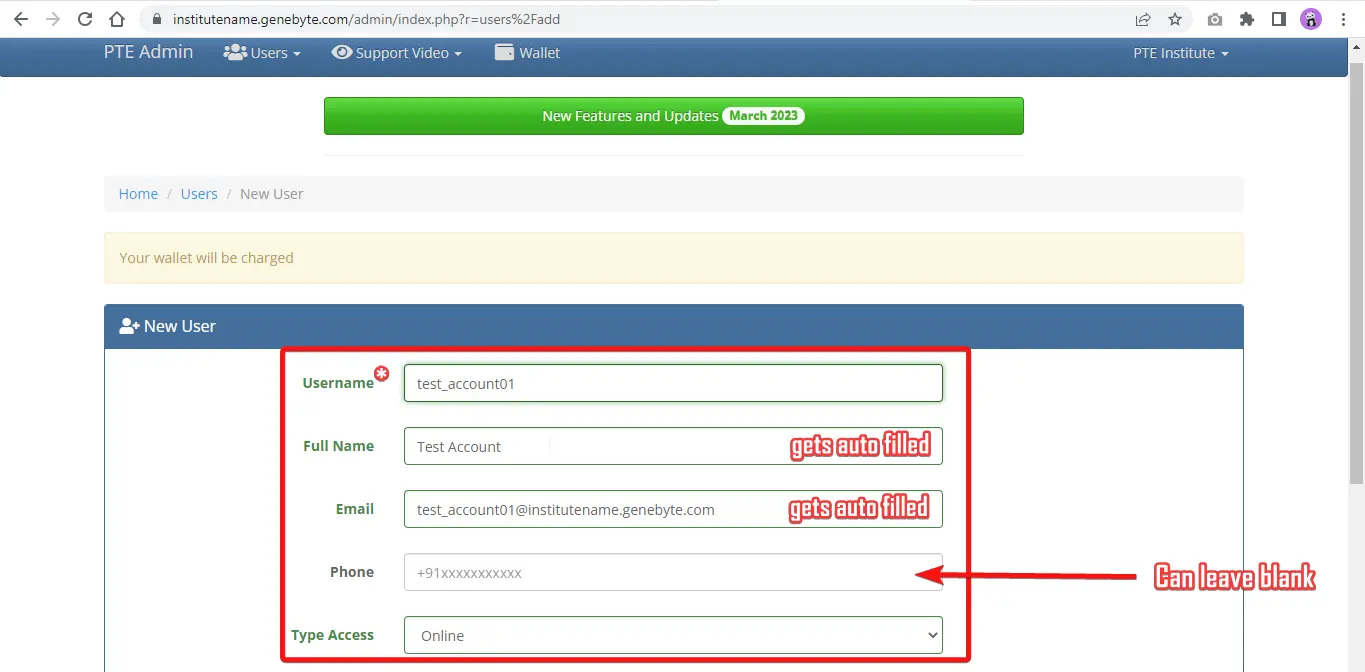
Rest of the necessary information will get auto-generated. Although, if needed, you can edit the Full Name of the account.
After that, go to the last column and enter the password you want to use for the account.
(The two categories saying Type-Site and Plan depend on certain factors that are usually pre-decided and cannot be changed)
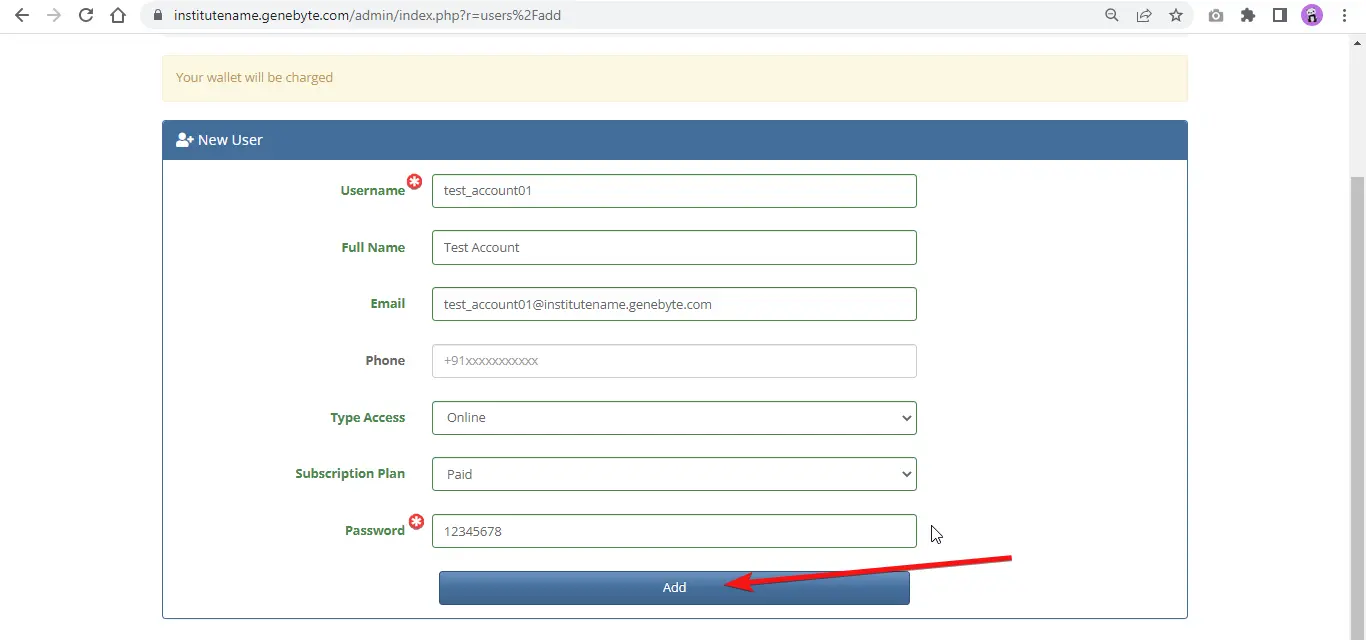
The password that you enter will be visible here but won't be visible afterwards in any manner. So, we recommend that you note it down seperately!
Once you cpck on Add button, you will be taken back to Users Page and a new user entry will be displayed for the account you just created.
A message in green saying User account created is shown for confirmation.
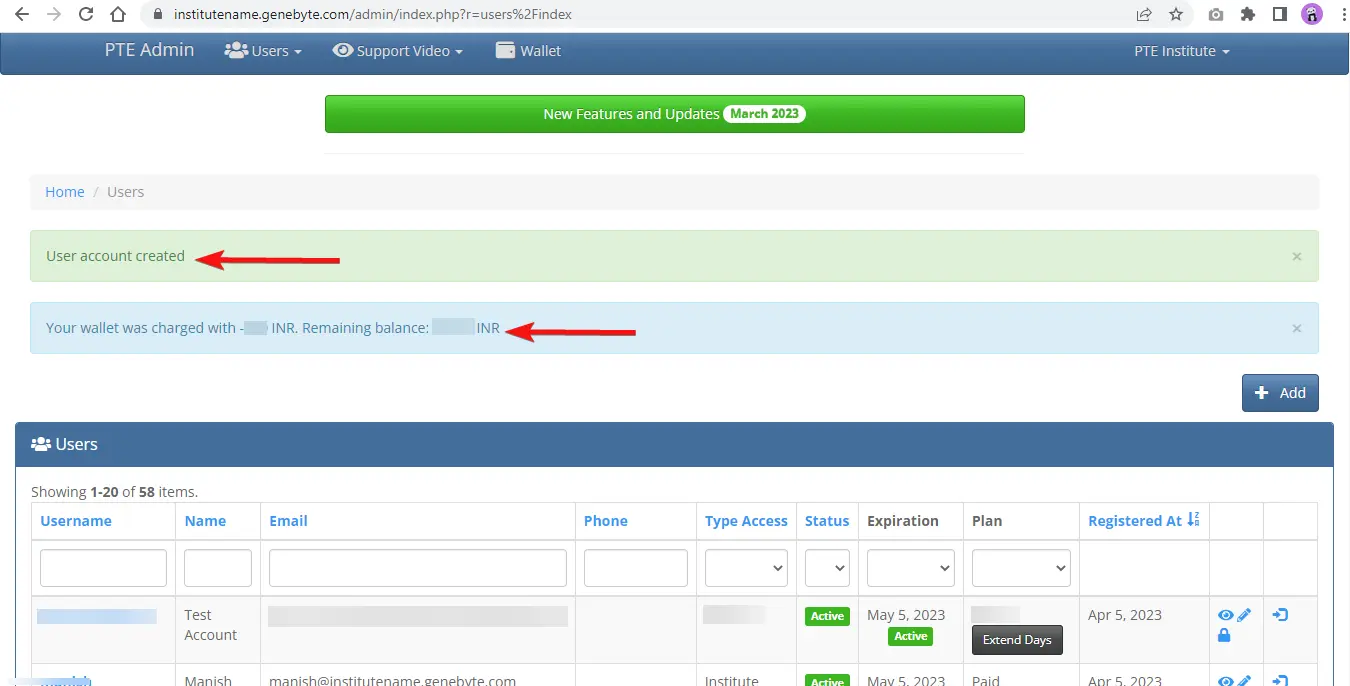
The tests get auto-assigned to the account and the Account will become active immediately.
Now, any student can access this account by opening the portal's student pnk, and login using the username and password you just generated.
Power Login:
Lastly, let's see the concept of Power Login and a few mandatory steps to be performed for every new account created.
This half-box & arrow icon highpghted in the image below is the Power Login icon, found on the right end of each User's details.

It helps to log in to front-end of any user account right from the admin panel.
If you are using the admin panel, you do not need to input the username-password manually.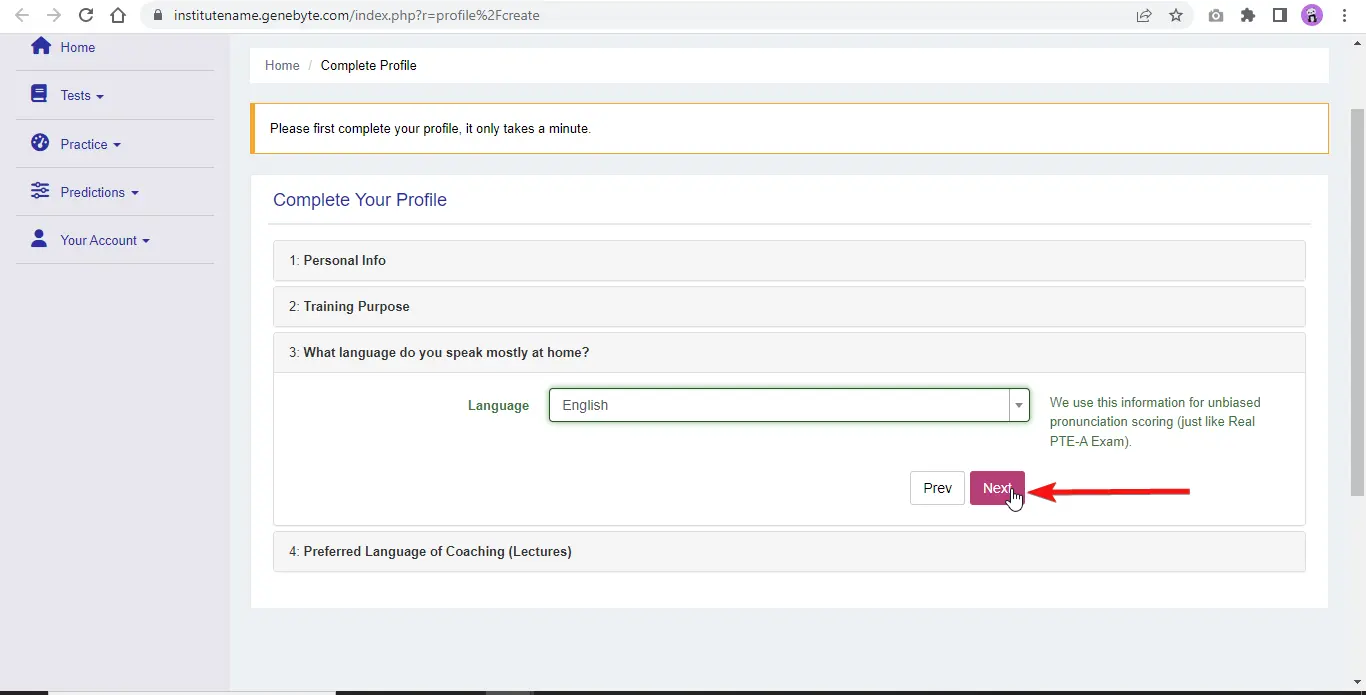
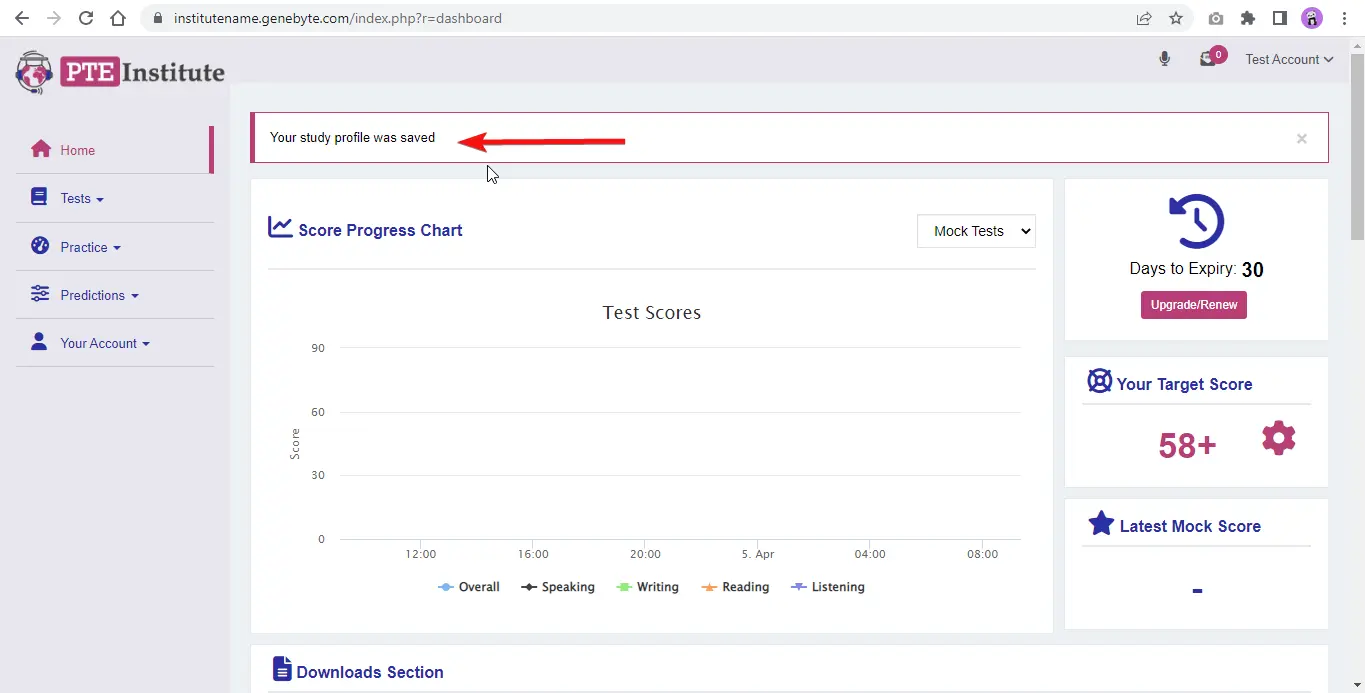
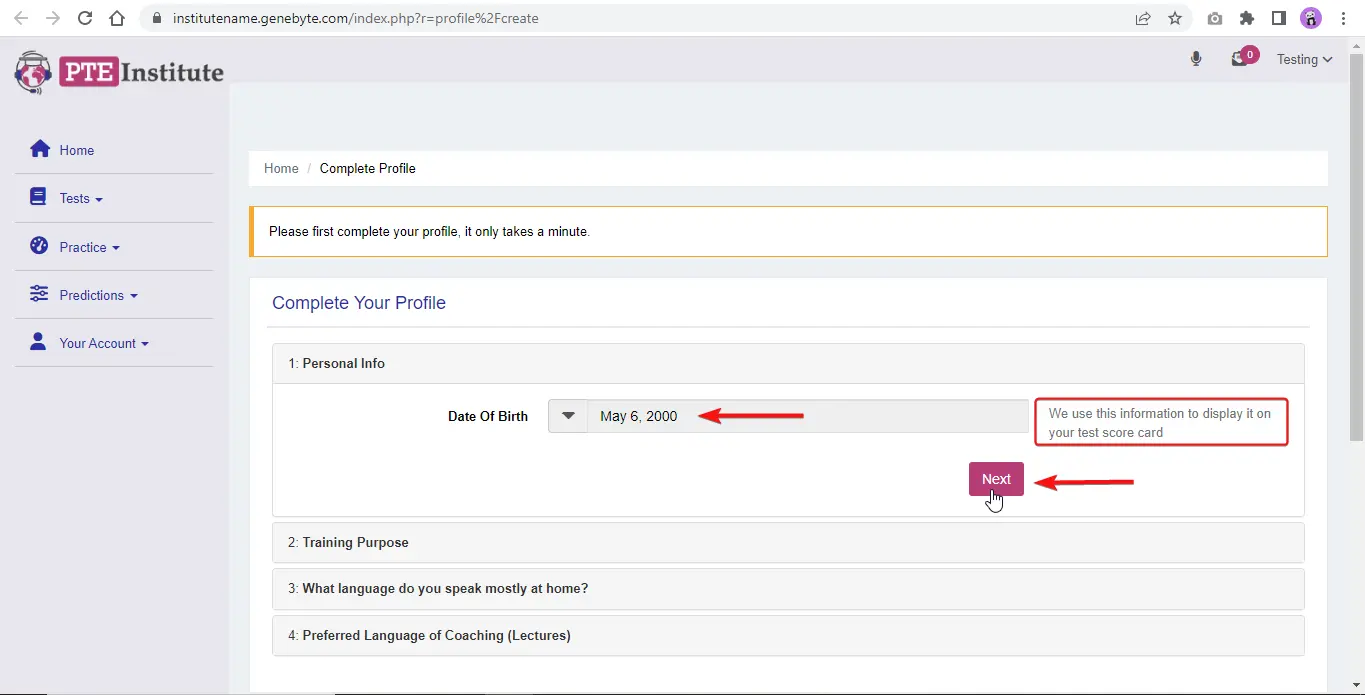
On front-end, the page you are seeing right now on the screen appears only once in the software.
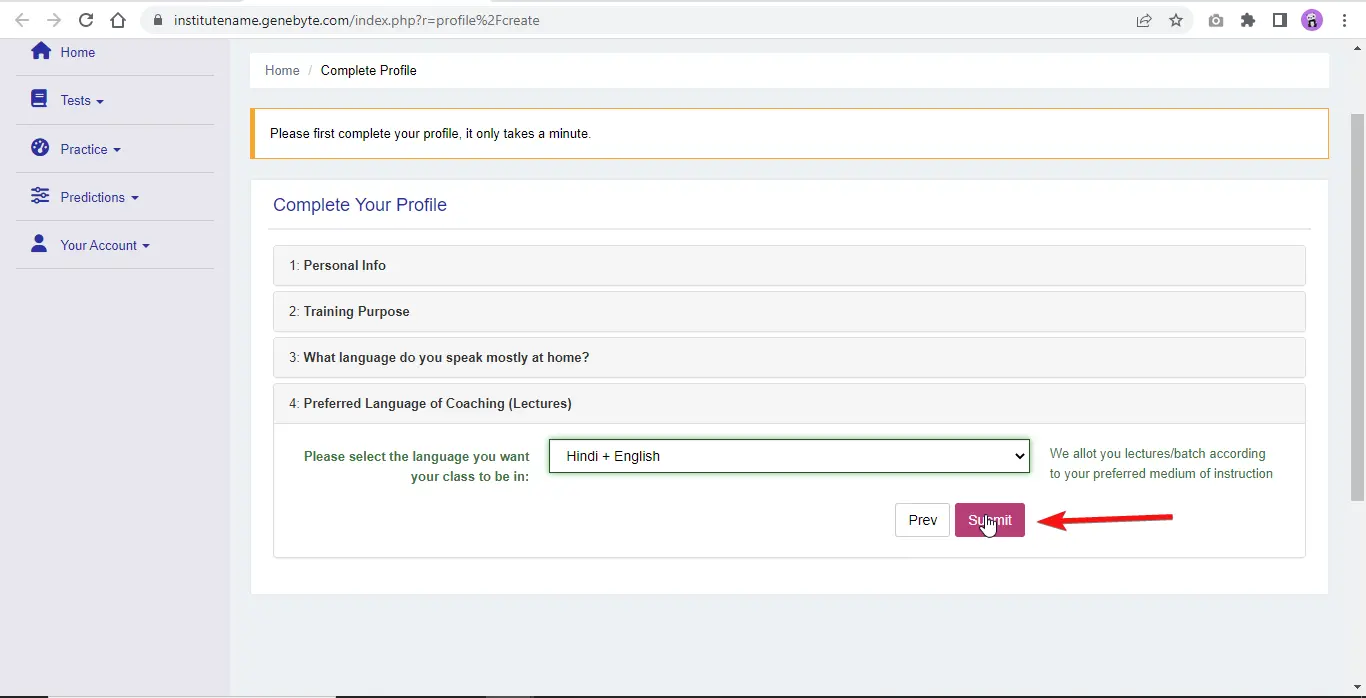
Please ask the user to read all the instructions shown here and complete this form before accessing
your portal.